Seasonal Recipes — Healthy Staple Recipes
Simple Almond Milk Recipe: Fresh & Creamy
Molly Moore / 08 January 2025
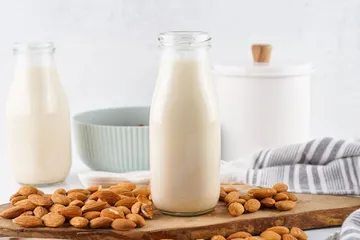
Homemade almond milk not only tastes better than store-bought but is also free from preservatives and additives. Plus, it's incredibly easy to make, and the possibilities are endless when it comes to customizing flavors and sweetness to your liking!
Benefits of Homemade Almond Milk
Homemade almond milk is a delightful alternative to soy and cow milk, offering a creamy texture and rich flavor without the dairy drawbacks. Being dairy-free, it doesn’t spike your blood sugar and is less inflammatory than traditional dairy milk. It also provides a whole host of nutritional benefits so you really don't have to feel like you're going without if you're making the switch from dairy.
Nutritional Contents of Homemade Almond Milk:
- Calcium
- Iron
- Magnesium
- Potassium
- B-vitamins
- Vitamin E
How To Make Almond Milk
Here's your simple step-by-step recipe, and how to store it, that you can use time and time again as a healthy staple in your kitchen! Plus, you can start to experiment with extra flavorings once you've mastered it.
Whether you prefer a hint of vanilla extract, a touch of maple syrup, or a pinch of salt, you can tailor the flavor to suit any dish or craving.
Prep Time: 10 Minutes
Rest Time: 8+ Hours
Yields: About 4 Cups
Equipment You'll Need
- High-Speed Blender or Food Processor
- Nut Milk Bag/Cheesecloth
- Fine mesh strainer
First and foremost, you’ll need a powerful blender—think Nutribullet or similar high-speed blenders—capable of turning raw almonds into smooth, creamy almond milk in just about two minutes.
If you’re working with a lower-powered blender, it’ll need about three to four minutes to achieve the consistency you’re after.
Alternatively, a food processor can get the job done, but expect a bit of a difference in texture and flavor, and you might need to blend for a little longer.
Once blended, you’ll need a cheesecloth or a nut milk bag to strain the mixture.
Ingredients
- 1 Cup Raw Almonds
- 6 ½ Cups Water, divided
- ¼ Teaspoon Salt
Variances
- Vanilla - Add 1 Tablespoon Vanilla
- Sweetened - Add 1 Tablespoon maple syrup or 2 dates
- Chocolate - 1 Tablespoon Cocoa Powder (add more based on preferences)

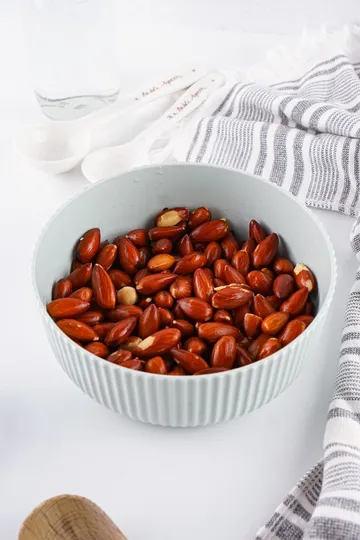
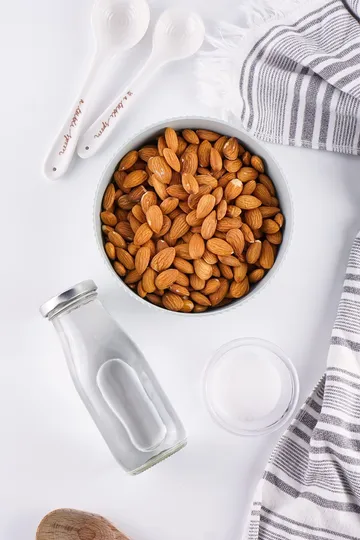
Step 1: Soaking the Almonds
- Place your almonds in a bowl and cover them generously with fresh, filtered water.
- Let them soak overnight (or at least 8 hours) for optimal creaminess. A few days is even better!
- After soaking, check the almonds. They should feel slightly squishy when pinched.
- Discard the soaking water and rinse the almonds. The discarded water contains phytic acid and other compounds that aren’t best for your body.

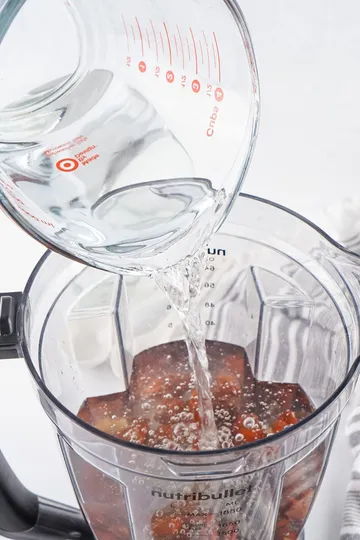
Step 2: Blending the Almonds
Place the almonds, 4 cups water, salt, and dates (other flavorings come later) in a blender and blend on medium or high for 1.5-2 minutes. If your blender isn't very powerful, blend for longer until the mixture is frothy and creamy without any noticeable pieces of almond.

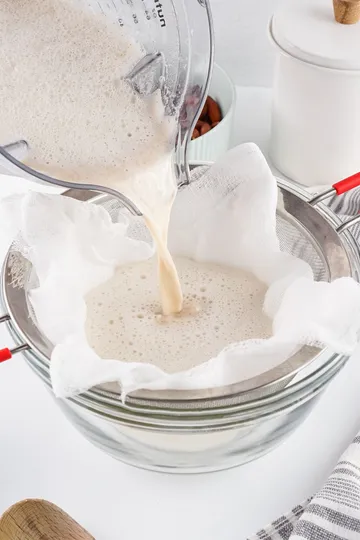
Step 3: Straining the Mixture
- Set Up Your Strainer: Place a nut milk bag or a double layer of cheesecloth over your fine-mesh strainer, positioned securely above a bowl.
- Pour the Mixture: Carefully transfer your blended almond mixture into the strainer.
- Wring It Out: Gently gather the edges of the bag or cloth and wring it like you’re squeezing fresh lemonade. This helps extract the rich, white liquid, leaving you with smooth, creamy almond milk.
- Repeat: Ensure you press out every precious drop from the almond meal resting in the cloth.

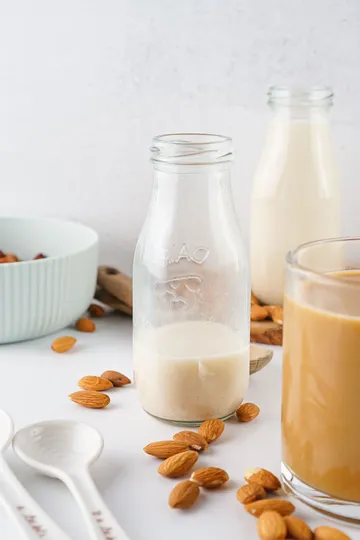
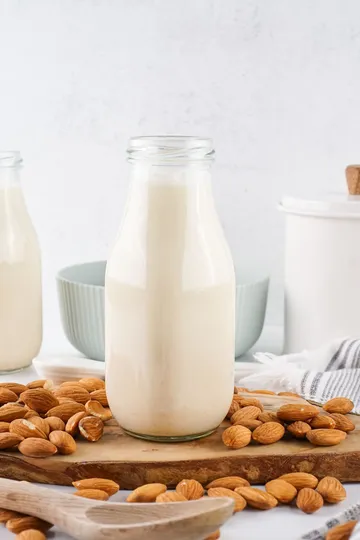
Step 4: Flavor & Store
You can now taste the milk and see if you'd like to add any more salt or additional flavorings like the vanilla to the mix. Once you're happy, it's time to pour into a glass container that can be sealed air-tight.
You can then store your milk for up to 4 days - remember to shake before use each time!
And it's as simple as that! Healthy, easy to make and better than the store version.
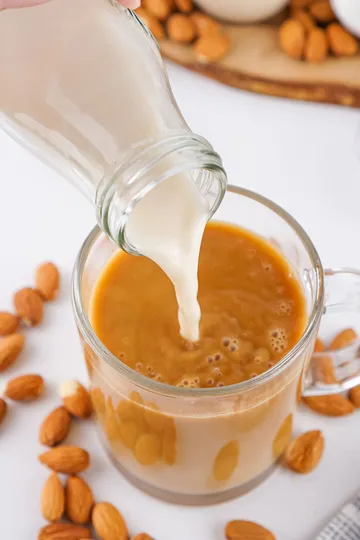
Enjoy in your morning coffee or use to make plant based healthy treats.

Weekly lifestyle inspiration.
In your inbox.
We think you’ll like
Get inspired with more content like this

Seasonal Recipes — Spring Recipes
Easter Bunny Soft Pretzels

Seasonal Recipes — Spring Recipes
The Creamiest Spinach Artichoke Dip

Seasonal Recipes — Spring Recipes