Beauty — Skincare
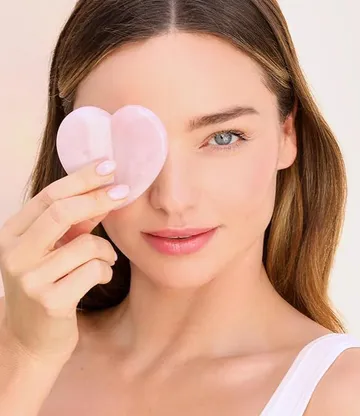
Easy Gua Sha Routine! + The Techniques You Need To Sculpt Your Face
Molly Moore / 24 June 2024
Aiming to boost blood circulation, facial gua , originating from Chinese Medicine, enhances collagen production and releases excess fluids from facial tissues. Consistent practice can lead to firmer skin and improved skin tone.
While facial injections offer immediate results, gua sha provides a more natural approach, creating subtle changes over time.
This is your guide for everything from preparation to practice so you can create the perfect Gua Sha routine.
Your Ultimate Gua Sha Routine
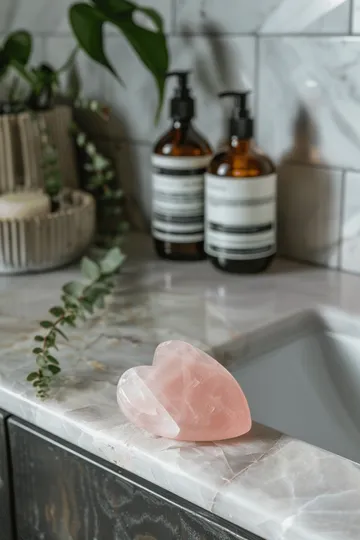
Choosing The Right Gua Sha For You
Choosing The Right Gua Sha Tool For You
We’ve selected the best tools for your Gua Sha routine. Select the Jade options for detoxification and the Rose Quartz for healing. These tools will be delicate on the eye area and suit all of the massage techniques we’ve outlined in the routines below!
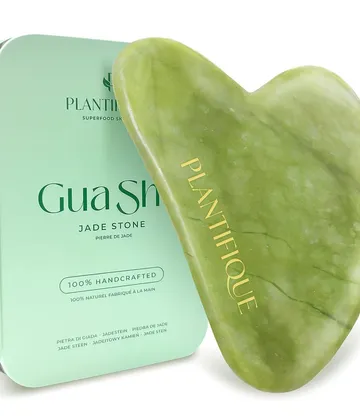
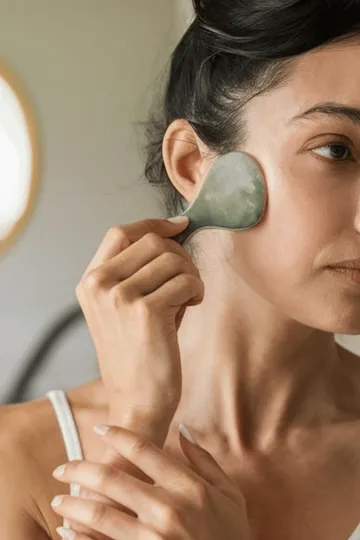
Jade Stone Gua Sha
$13 Plantifique
Rose Quartz Heart Facial Sculptor
$65 Kora Organics

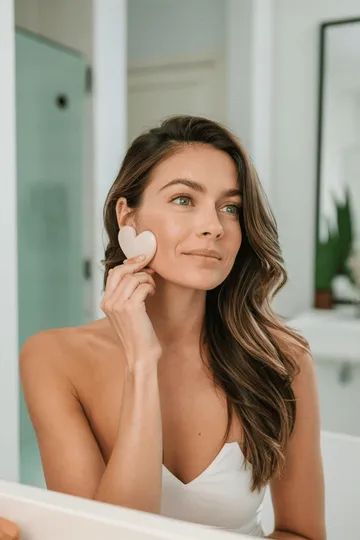
Sculpty Heart Gua Sha
$33 Skin Gym

Want to know what oil to use?
We've rounded up the best oil to use for your Gua Sha routine for every skin type!
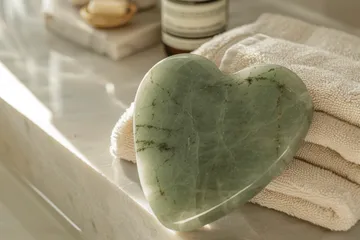
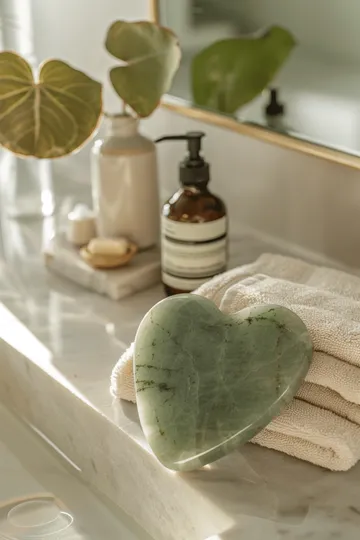
Preparation for Gua Sha
- Ensure both your hands and the Gua Sha tool are thoroughly clean before starting. This is crucial for maintaining skin hygiene and preventing any unwanted reactions.
- Apply a generous amount of facial oil next. This step is essential to create a smooth base for the Gua Sha tool, preventing any pulling or damage to delicate facial tissues. Remember to extend this application to your neck and shoulders, as these areas are vital for promoting lymphatic drainage and blood circulation, key benefits of the Gua Sha technique. Read our round up of the best facial oils for Gua Sha.
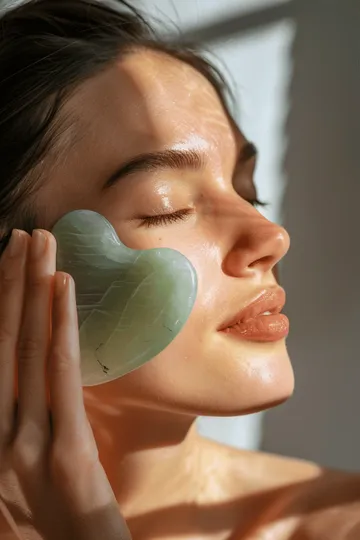
- For the technique, hold the Gua Sha tool at a 30 to 45-degree angle against the skin. Use gentle, upward and downward motions that follow the lymphatic drainage pathways. Your routine can vary from daily to weekly sessions, depending on your skin's reactions and needs. Find the balance where your skin feels rejuvenated without being overwhelmed.
Step By Step Gua Sha Routines For Each Skin Need
Home Gua Sha Routine For Sculpting Cheekbones & Face
This is how I mostly use Gua Sha but I incorporate a few techniques from the lymphatic drainage routine once a week!
- Forehead
- Start at the center of your forehead just above your eyebrows.
- Hold the tool at a 30 to 45-degree angle and glide it towards your hairline.
- Repeat each stroke 3-5 times on both sides, ensuring even coverage.
- Brows
- Place the tool in the middle of your forehead, between your eyebrows.
- Glide it gently along the brow bone towards the temples.
- Repeat 3-5 times on each side.
- Under Eyes
- Gently glide the tool from the inner corner of your under-eye area towards the temple.
- Use light pressure to avoid stretching the delicate skin.
- Repeat 3-5 times on each side.
- Cheekbones
- Place the tool at the base of your nose, just under the cheekbone.
- Glide it along the cheekbone towards the ear.
- Use medium pressure to enhance the contouring effect.
- Repeat 3-5 times on each side.
- Jawline
- Start at the center of your chin.
- Glide the tool along the jawline towards the earlobe.
- Apply medium pressure to help define the jawline.
- Repeat 3-5 times on each side.
- Neck
- Begin at the base of your neck, just above the collarbone.
- Glide the tool upwards towards your jawline.
- Use gentle, long strokes to promote lymphatic drainage.
- Repeat 3-5 times on each side.
- Final Steps
- Gently massage any remaining facial oil or serum into your skin.
- Clean your Gua Sha tool with mild soap and water, then dry it thoroughly.
Tips for Best Results
- Perform this routine 2-3 times a week for optimal results.
- Always use a gentle touch, especially around sensitive areas like the eyes.
- Consistency is key to achieving and maintaining a sculpted, contoured look.
Step-by-Step Gua Sha Routine for Detox & Lymphatic Drainage
- Neck
- Start at the base of your neck, just above the collarbone.
- Hold the tool at a 30 to 45-degree angle and glide it upwards towards your jawline.
- Repeat each stroke 3-5 times on both sides, using gentle, long strokes to promote lymphatic drainage.
- Sides of Neck
- Place the tool behind your ear, near the hairline.
- Glide it down towards the base of your neck.
- This helps drain lymph from the face to the lymph nodes in the neck.
- Repeat 3-5 times on each side.
- Under Chin and Jawline
- Start at the center of your chin.
- Glide the tool along the jawline towards the earlobe.
- Use gentle pressure to stimulate lymphatic flow.
- Repeat 3-5 times on each side.
- Cheekbones
- Place the tool at the side of your nose.
- Glide it outward under the cheekbone towards the ear.
- This helps move lymph towards the lymph nodes.
- Repeat 3-5 times on each side.
- Under Eyes
- Gently glide the tool from the inner corner of your under-eye area towards the temple.
- Use very light pressure to avoid stretching the delicate skin.
- Repeat 3-5 times on each side.
- Forehead
- Start at the center of your forehead just above the eyebrows.
- Glide the tool outwards towards the temples.
- This helps move lymphatic fluid away from the center of your face.
- Repeat 3-5 times on each side.
- Final Neck Strokes
- Finish by repeating the strokes on your neck to ensure that all lymphatic fluid is directed downwards to the lymph nodes for detoxification.
- Glide the tool from the base of the ear down to the collarbone.
- Repeat 3-5 times on each side.
Tips for Best Results
- Perform this routine 2-3 times a week for optimal results.
- Always use a gentle touch, especially around sensitive areas like the eyes.
- Drink plenty of water after the session to help flush out toxins.
- Consistency is key to achieving and maintaining the detoxing and lymphatic drainage benefits.

Step-by-Step Gua Sha Routine for Skin Tightening
- Forehead
- Start at the center of your forehead just above your eyebrows.
- Hold the tool at a 30 to 45-degree angle and glide it upwards towards your hairline.
- Repeat each stroke 3-5 times on both sides, ensuring even coverage.
- This helps lift the forehead and smooth fine lines.
- Eyebrows
- Place the tool in the middle of your forehead, between your eyebrows.
- Glide it gently along the brow bone towards the temples.
- Repeat 3-5 times on each side.
- This technique helps lift and define the brow area.
- Under Eyes
- Gently glide the tool from the inner corner of your under-eye area towards the temple.
- Use light pressure to avoid stretching the delicate skin.
- Repeat 3-5 times on each side.
- This helps reduce puffiness and tighten the skin under the eyes.
- Cheekbones
- Place the tool at the base of your nose, just under the cheekbone.
- Glide it along the cheekbone towards the ear.
- Use medium pressure to enhance the contouring effect and tighten the skin.
- Repeat 3-5 times on each side.
- Jawline and Chin
- Start at the center of your chin.
- Glide the tool along the jawline towards the earlobe.
- Apply medium pressure to help define the jawline and tighten the skin.
- Repeat 3-5 times on each side.
- Neck
- Begin at the base of your neck, just above the collarbone.
- Glide the tool upwards towards your jawline.
- Use gentle, long strokes to promote lymphatic drainage and tighten the skin.
- Repeat 3-5 times on each side.
- Final Steps
- Gently massage any remaining facial oil or serum into your skin.
- Clean your Gua Sha tool with mild soap and water, then dry it thoroughly.
Tips for Best Results
- Perform this routine 2-3 times a week for optimal results.
- Use consistent, upward strokes to promote skin tightening.
- Apply a gentle touch around sensitive areas like the eyes.
- Consistency is key to achieving and maintaining tightened, youthful-looking skin.
How long does Gua Sha take?
You can adjust the duration of your Gua Sha session to fit your schedule. While a thorough session may take 10-15 minutes, even a quick 2-minute routine can be beneficial. This practice is an excellent grounding ritual that helps reduce puffiness and make you look more awake.

Gua Sha Routines for Different Skin Types
Gua Sha Techniques for Oily/Acne-Prone Skin
For oily or acne-prone skin, Gua Sha can be beneficial if done carefully. Apply a liberal amount of facial oil or cream to reduce friction and prevent blemishes. This practice helps release muscle knots that can lead to wrinkles. The improved circulation from Gua Sha tightens, brightens, and smooths oily skin over time. Following Traditional Chinese Medicine principles, Gua Sha promotes healthy energy circulation, making it especially helpful for managing oily and acne-sensitive skin.
Gua Sha Techniques for Dry Skin
Approach Gua Sha for dry skin with care and gentleness. Experts recommend hydrating the skin with a gentle mist or alcohol-free toner before starting. This step helps prevent irritation. Use facial oils or creams to reduce friction and avoid blemishes. Apply light, gentle strokes for a comfortable experience. With proper technique, Gua Sha becomes a nourishing ritual for dry skin.
Gua Sha Techniques for Sensitive Skin
For sensitive skin, use minimal pressure with Gua Sha. Avoid using it on rashes, sunburns, or coagulation issues. When done gently, Gua Sha can improve microwounds, scarring, and hyperpigmentation by boosting blood flow. It also helps de-puff under-eye bags, lift droopy eyelids, and relax furrowed brows, resulting in a more vibrant appearance. Rooted in centuries of Chinese healing, Gua Sha offers a gentle yet effective transformation for sensitive skin, one tender stroke at a time.
Techniques and Strokes for Effective Gua Sha
Downward Strokes for Releasing Tension
Downward strokes are essential in Gua Sha, following natural lymphatic pathways to move excess fluids and toxins toward filtration sites. While body Gua Sha can be vigorous, facial Gua Sha uses gentle, soothing strokes to avoid bruising. These movements calm the skin, reduce stress, and enhance facial definition.
Slow Strokes to Reduce Puffiness and Promote Relaxation
Slow, measured strokes are key to a transformative Gua Sha experience. Using medium pressure avoids red streaks while ensuring safety and therapeutic benefits. These gentle strokes reduce puffiness and inflammation, helping sculpt the face and ease muscle tension, promoting a relaxed state and improved facial appearance.
Upward Strokes for Lifting and Toning
Upward strokes in Gua Sha counteract gravity, essential for toning and firming the skin. This technique stimulates collagen production and provides a temporary lift, defining the jawline, enhancing cheekbones, and smoothing the forehead. Consistent use leads to lasting, visible toning results.
Gua Sha: FAQs
How often should you use a Gua Sha?
You can use Gua Sha 2-3 times a week, or even daily if your skin tolerates it well. Consistency is key to seeing the benefits.
Do you moisturize before or after Gua Sha?
You should apply a facial oil or serum before using Gua Sha to ensure the tool glides smoothly over your skin. Moisturizing afterward can help lock in hydration and enhance the benefits of your skincare routine.
How many days does it take for Gua Sha to work?
Results can vary, but some people notice a difference in their skin's appearance after a few sessions. For more significant results, consistent use over several weeks is recommended.
What step is Gua Sha in a skincare routine?
Gua Sha should be performed after cleansing and applying facial oil or serum, but before any heavier moisturizers or treatments. This allows the tool to glide smoothly and helps the products penetrate deeper into the skin.
Gua Sha vs. Jade Roller
Gua Sha tools and jade rollers are often grouped together, but they have key differences. A jade roller is a simple tool with one shape and motion, primarily used for product penetration, lymphatic circulation, and relaxation. In contrast, a Gua Sha tool has a unique shape with various edges, allowing it to contour the face, improve circulation, penetrate products, and relax tense muscles. The benefits of Gua Sha come from its specific motions rather than the material
Can Gua Sha Replace Injectables?
While Gua Sha doesn't provide the immediate and dramatic results of injectables like Botox and fillers, it can enhance skin plumpness when practiced correctly. Gua Sha offers a more natural, gradual improvement in skin texture and appearance.
Can I Do Gua Sha on Dry Skin?
Using Gua Sha on very dry skin can cause irritation. It's recommended to apply a gentle facial mist or alcohol-free toner to hydrate your skin beforehand. This added moisture helps prevent irritation and ensures a smoother Gua Sha experience.
Is Gua Sha Painful?
Not if done properly. It's important to use light strokes when practicing Gua Sha. Pressing harder won't improve results and can cause pain and irritation. Gentle, consistent pressure ensures a comfortable and effective Gua Sha experience.
When to Avoid Gua Sha and Potential Side Effects
Avoid Gua Sha if you have rashes, sunburns, or blood coagulation issues. Post-treatment, your skin may appear pink or red for a few moments, and bruising can occur depending on pressure and susceptibility. Always use gentle pressure to minimize these side effects.When to Avoid Gua Sha and Potential Side Effects

Weekly lifestyle inspiration.
In your inbox.
We think you’ll like
Get inspired with more content like this

Beauty — Hair & nails
50 Chic Fall Nail Designs For 2024
Beauty — Skincare
The Best Face Oils For Gua Sha: Skin Type Recommendations

Beauty — Skincare